
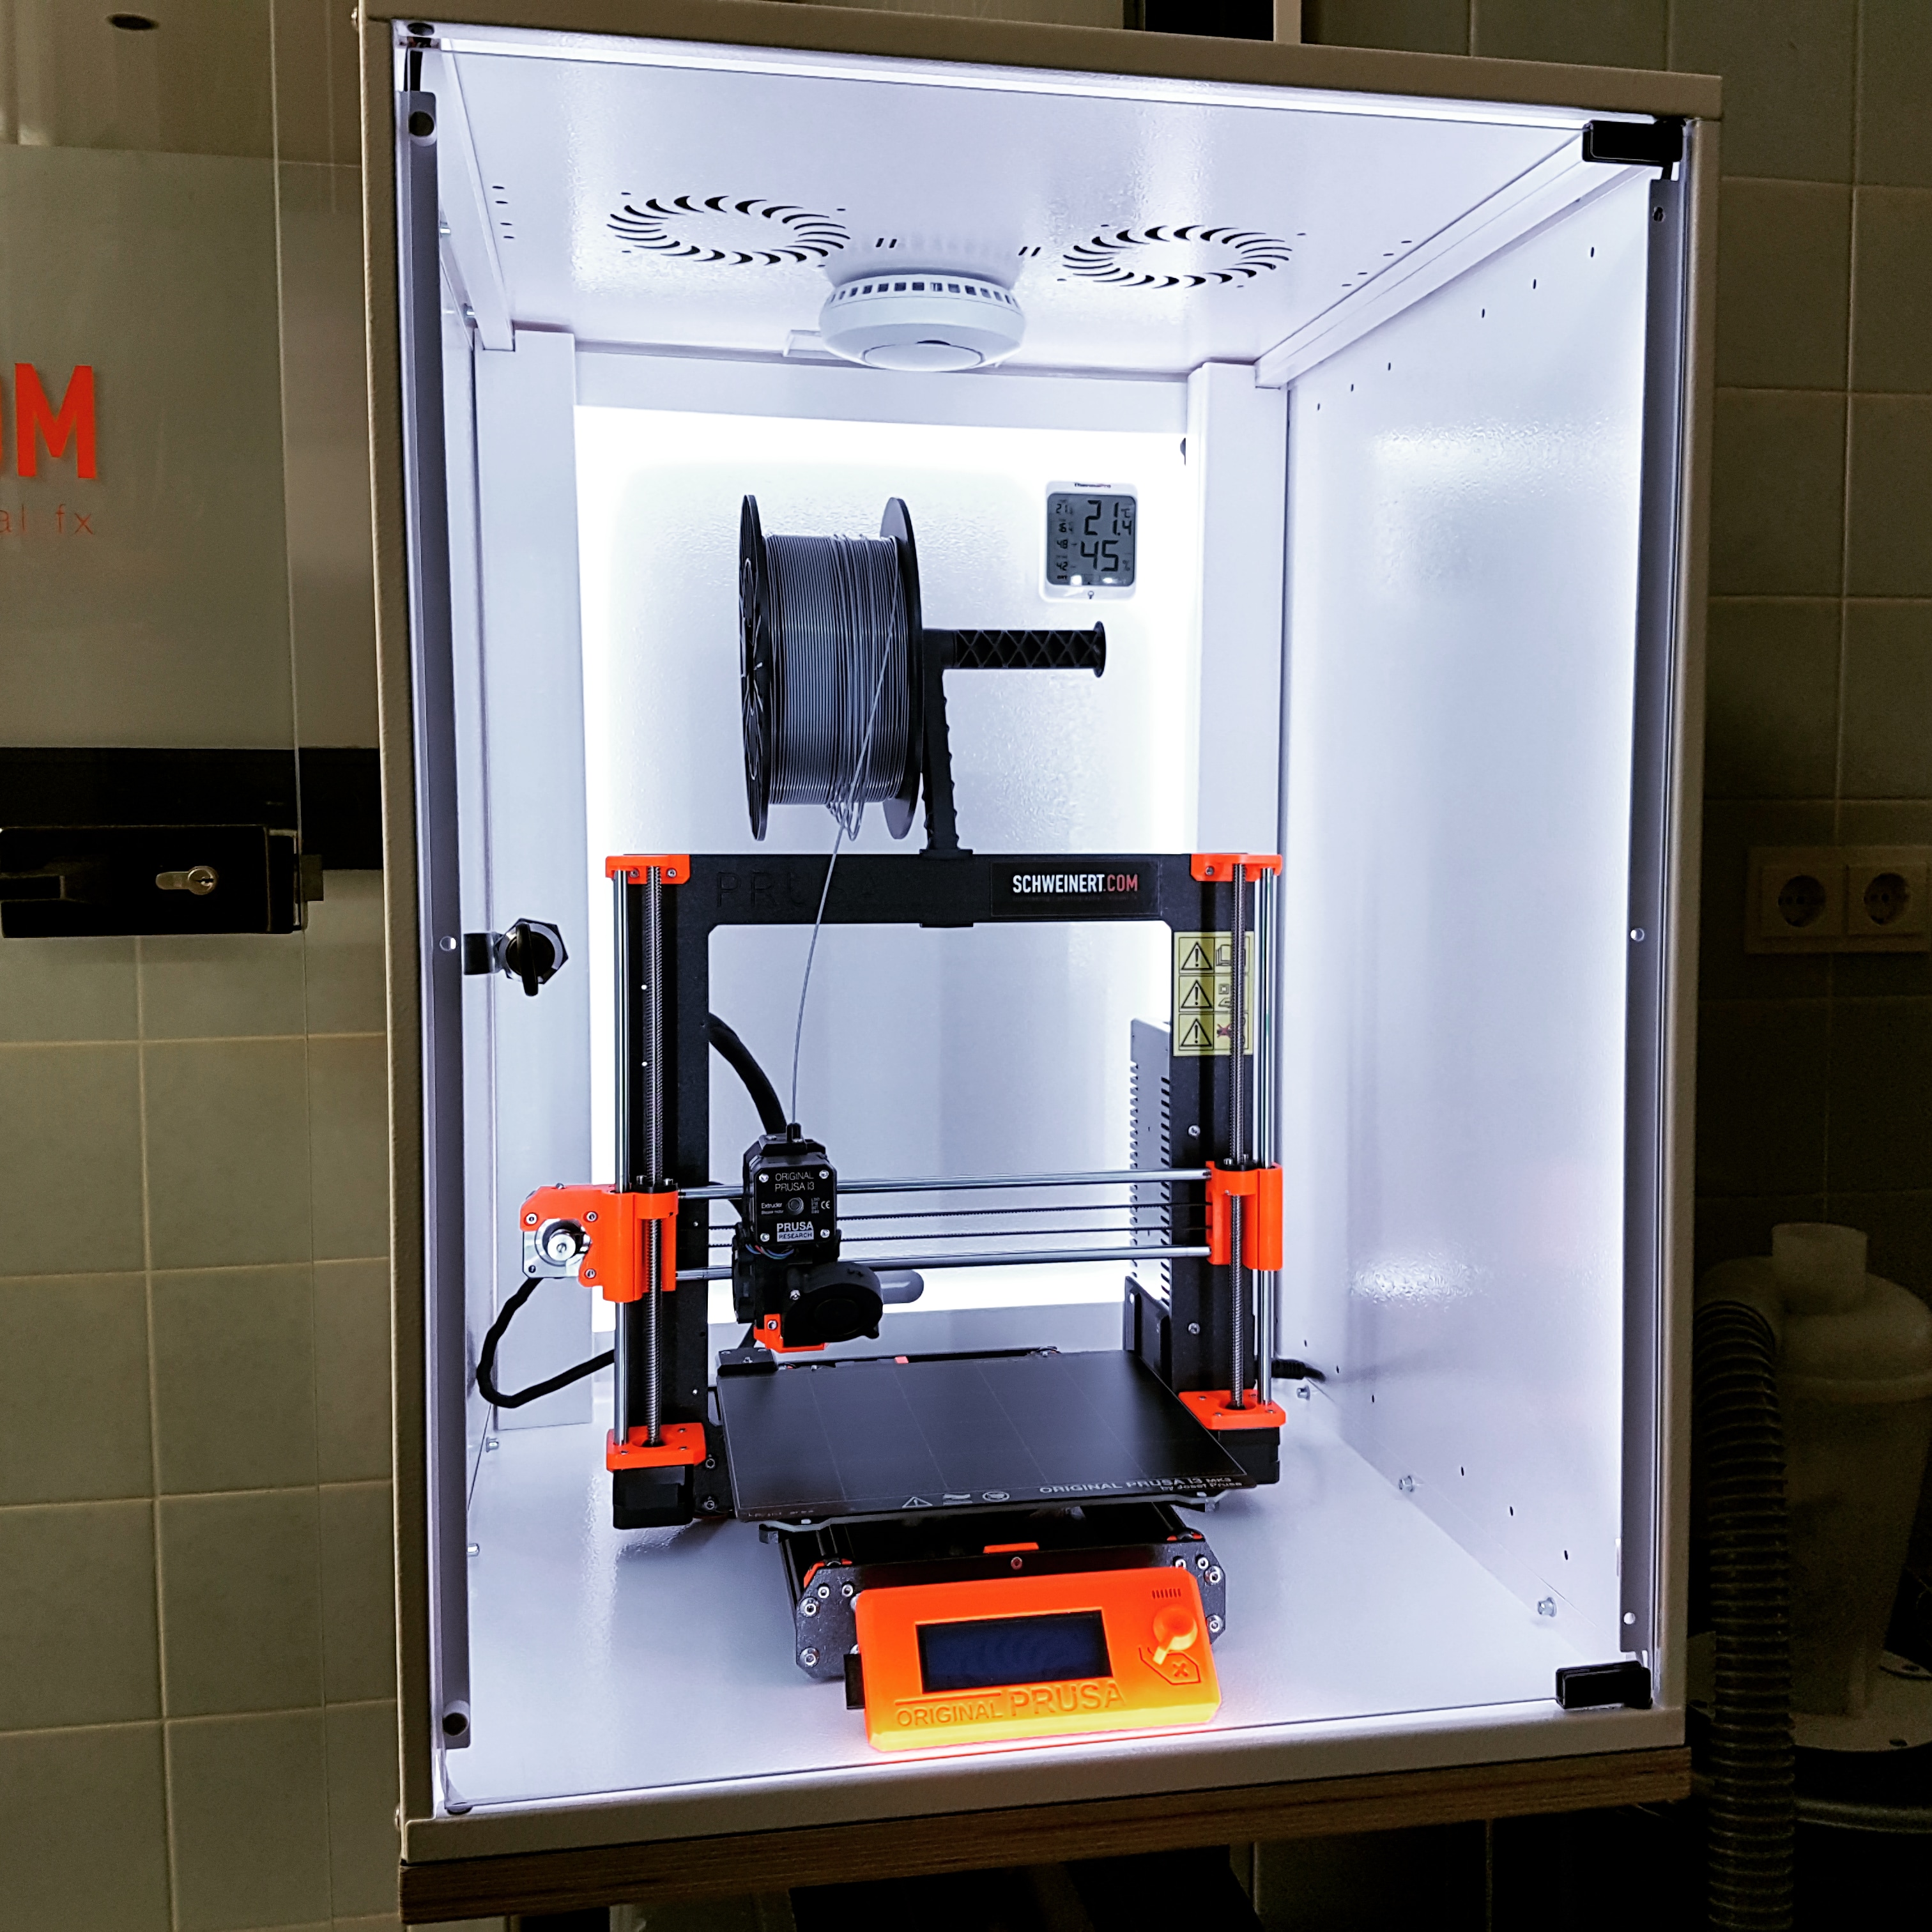
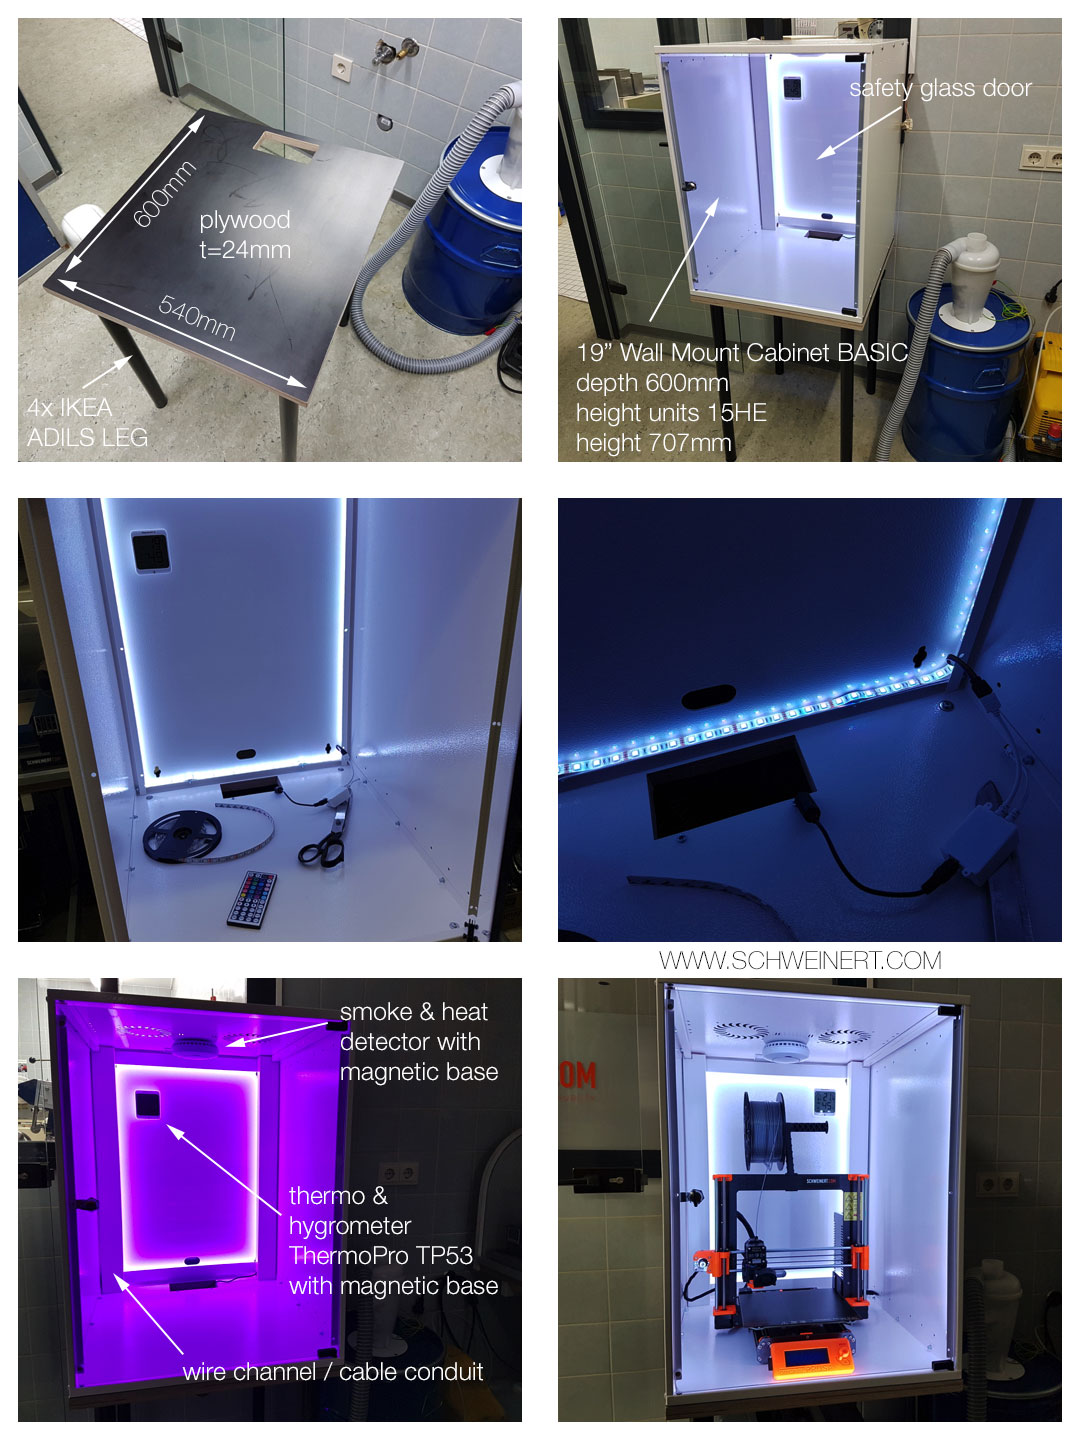
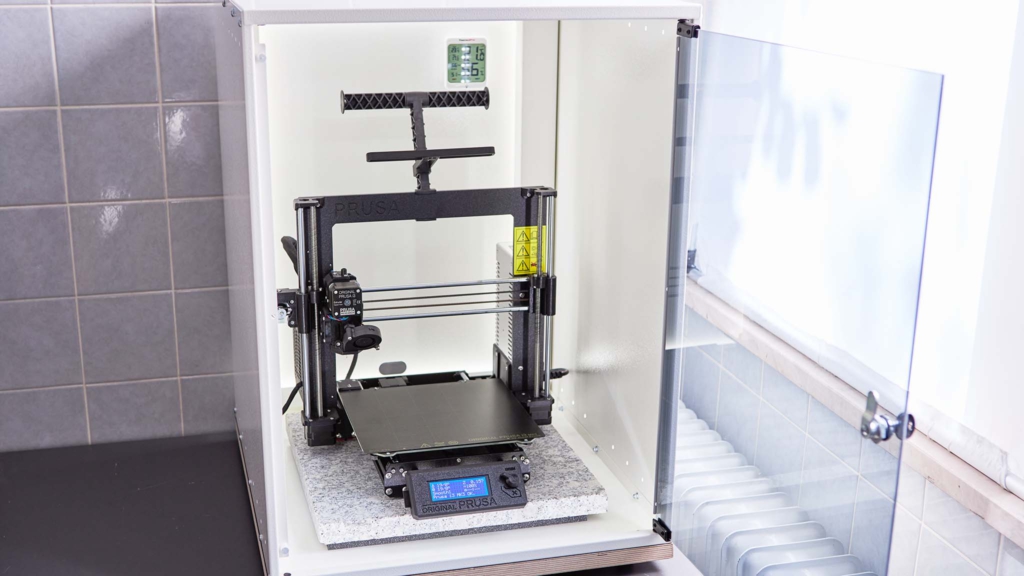
I’ve found the perfect enclosure for my Prusa i3 MK3 3D printer (no modification needed!). It’s a cheap server wall mount cabinet for only 79,- EUR. You can find it on ebay or in different computer online shops. It has 4 mm safety glass and powder coated sheet metal walls. The roof and bottom have cable entries and the roof is also prepared for mounting 2 x single fans. That may come in handy if you want to build a fume exhaust for ABS printing.
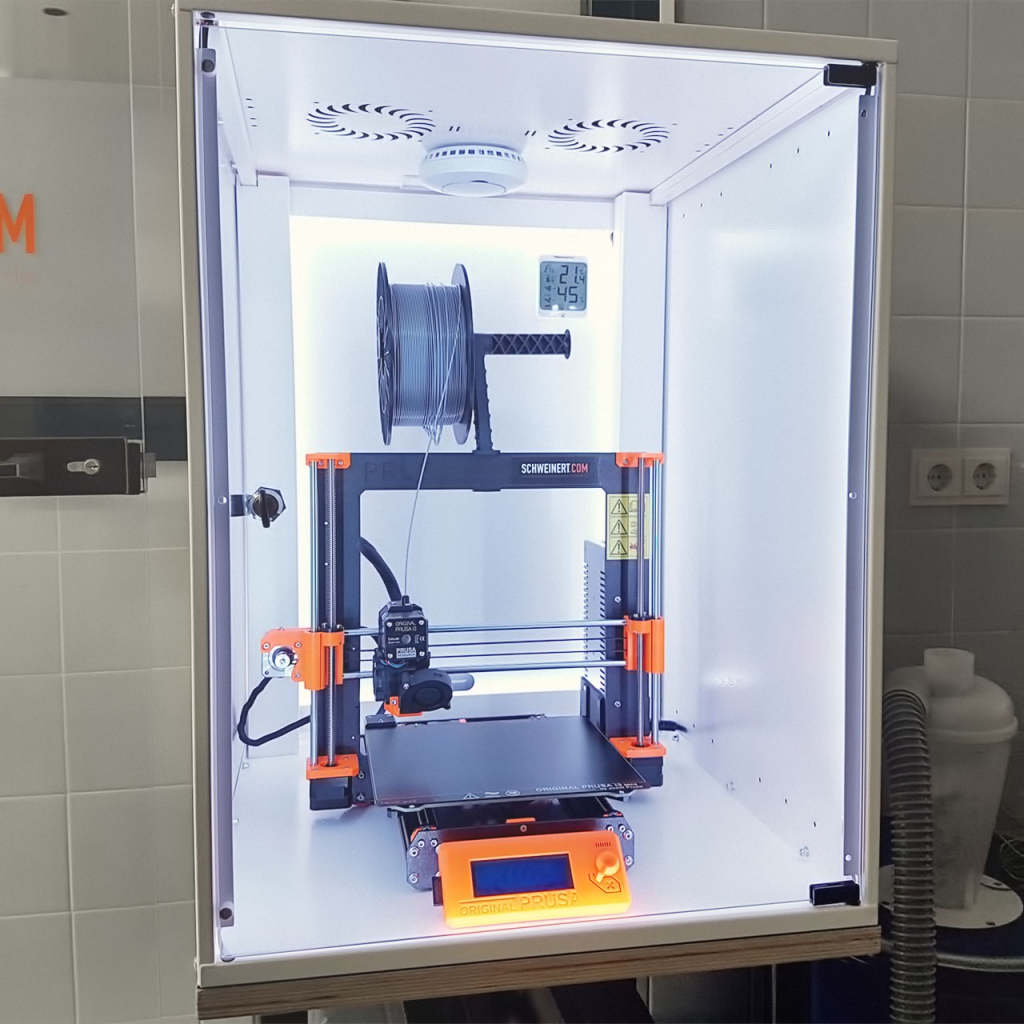
This cabinet is available in different sizes and colors. But you need the biggest one in white color (with 15 Height Units and 600mm depth) and the Prusa i3 will fit perfectly. Also the heat bed cable on the backside of the i3 has enough space without touching the enclosure, no modification needed. Since this thing was meant to be mounted on a wall it’s baseplate is not that sturdy. Don’t use rubber feet directly on the bottom side of the enclosure it will be too wobbly! Instead screw a thick plywood board to the bottom side to give the enclosure more stability. On that plywood board you can now fix some rubber feet to it if you want to use it on your desk.
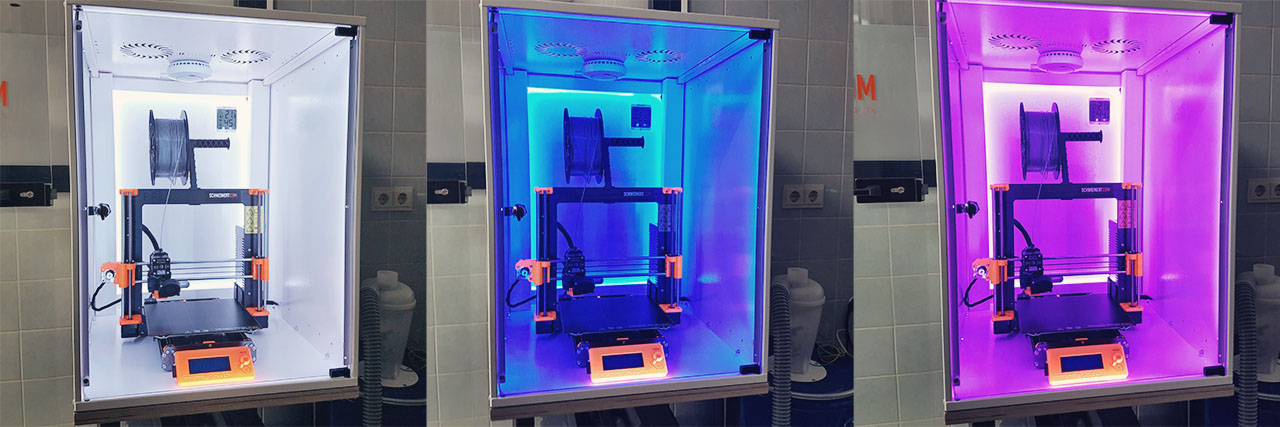
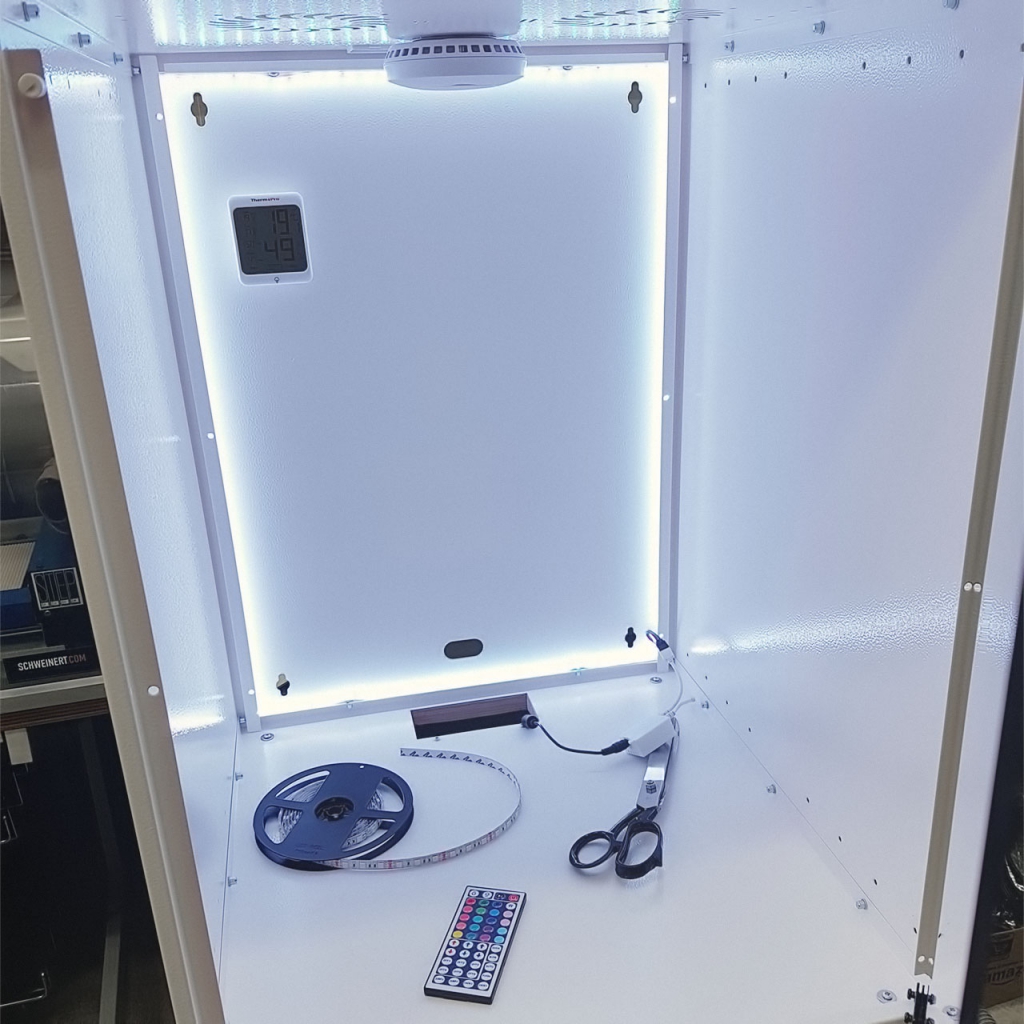
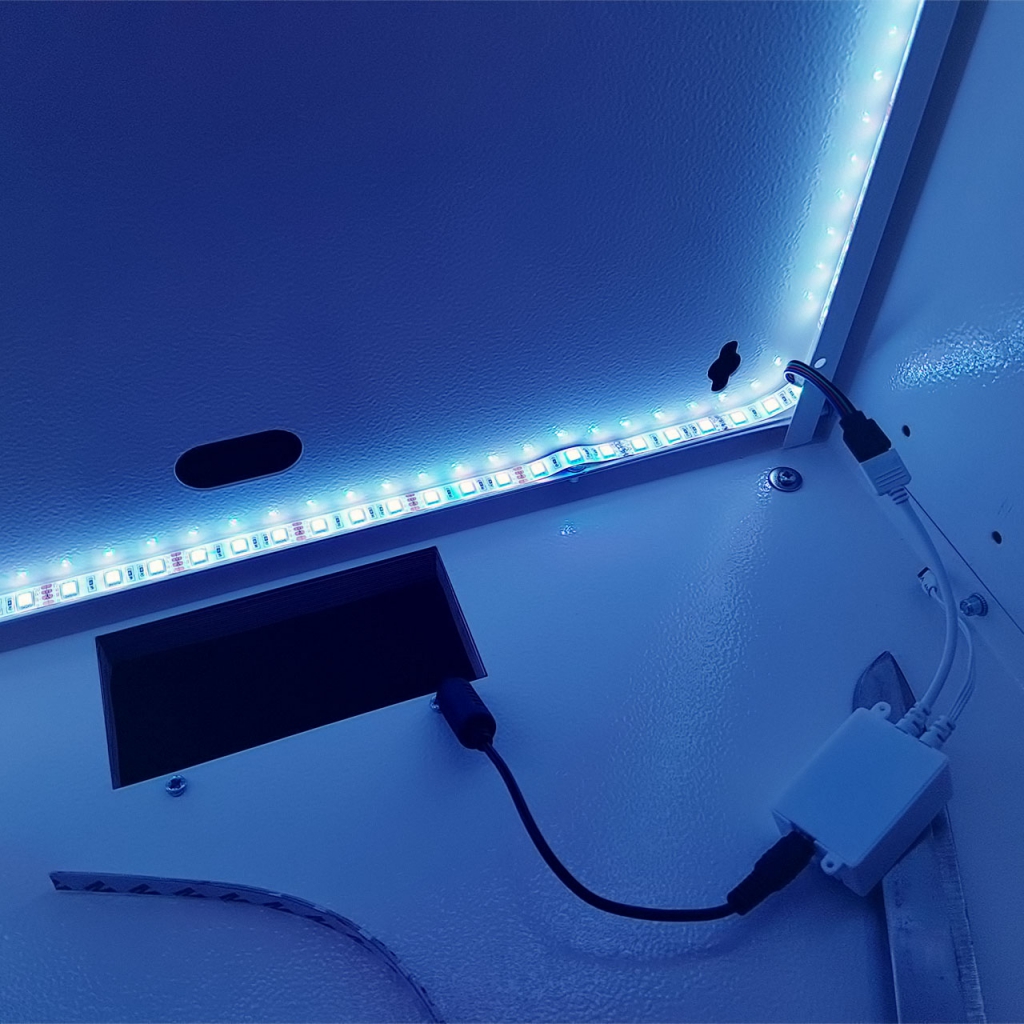
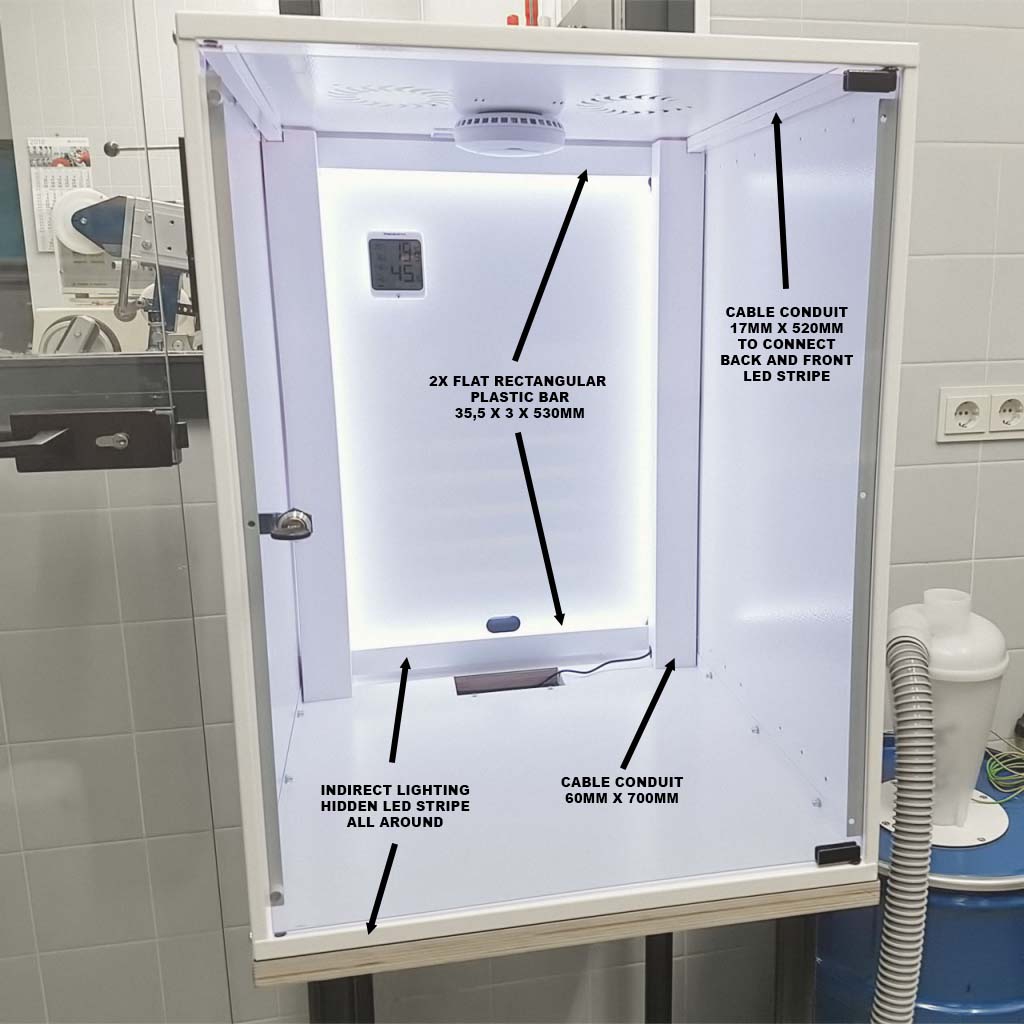
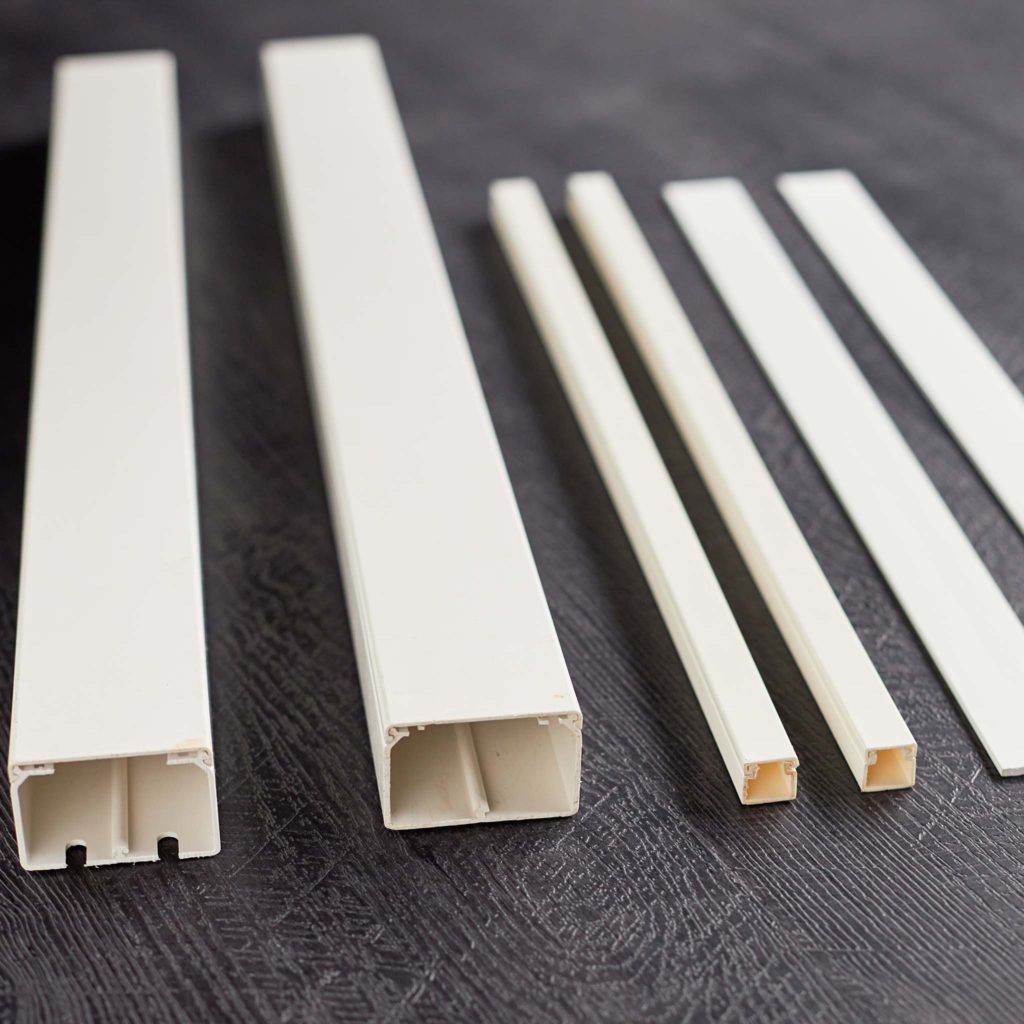
I’ve built a little table from a plywood board and some cheap IKEA table legs and screwed the enclosure to it. You can also leave the IKEA legs and put the server cabinet directly on your desk but you really should reinforce the enclosure baseplate with a thick plywood board underneath. Inside the enclosure I fixed some wire channel / cable conduit with strong double sided tape to hide the LED Stripe and to get a pleasant indirect lighting. Btw. I put the LED stripe in the back of the enclosure and at the front (behind the glass door). Take the measurements, cut the pieces to size and solder them together with a wire before sticking them into the enclosure.
19“ 15U Wall Housing Basic, Depth 600 mm, 1-Part, Flat Pack
Article no. WGB-1915WS.60 (white) <<< I have this one
Article no. WGB-1915TS.60 (black) / WGB-1915GR.60 (grey)
Width: 535mm
Depth: 600mm
Height: 707mm
Number of height units: 15HE
1x Plywood board 540x600x24mm
4x IKEA ADILS legs or 4x rubber feet if used on a desk
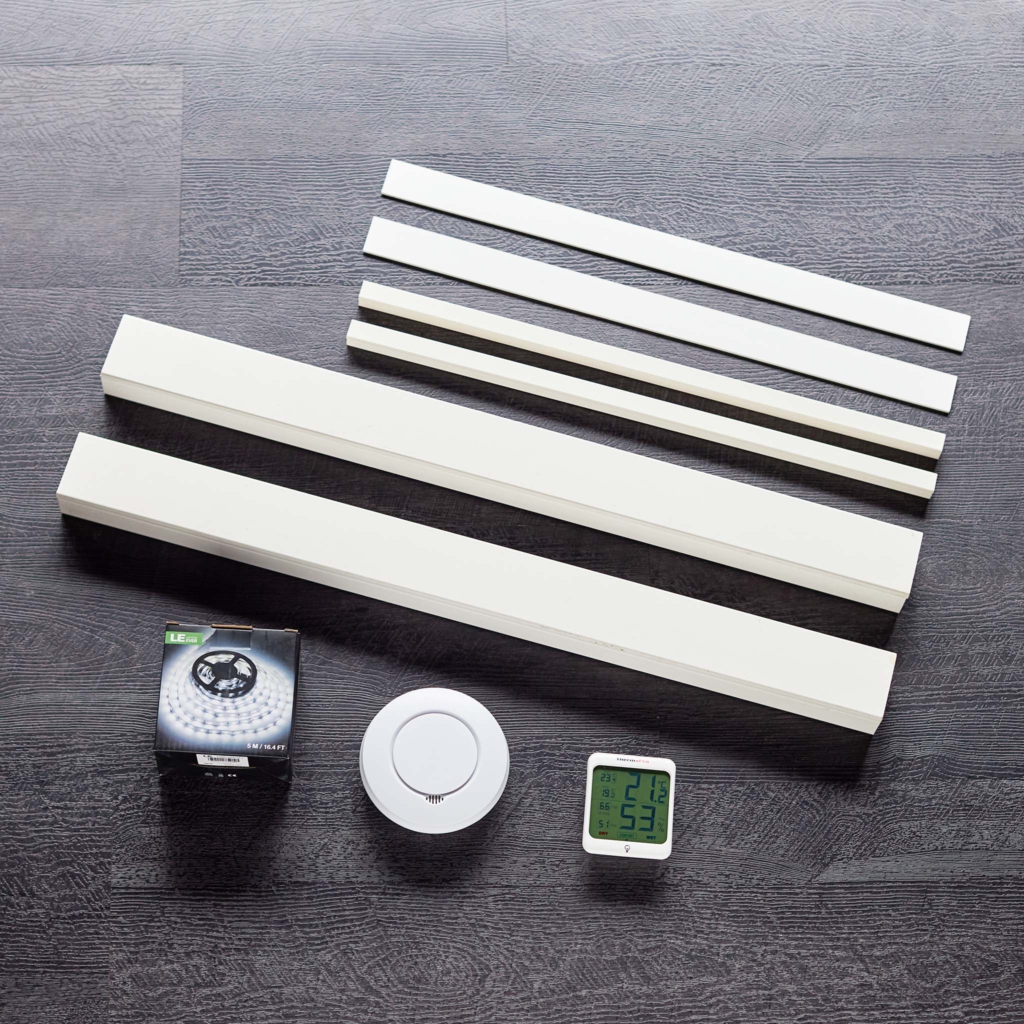
1x RGB or white LED Stripe 5 Meter
1x BrematicPRO Smoke & Heat detector 1294300 (alert 54-70°C)
1x 3M Smoke Detector Magnetic Mount Pad
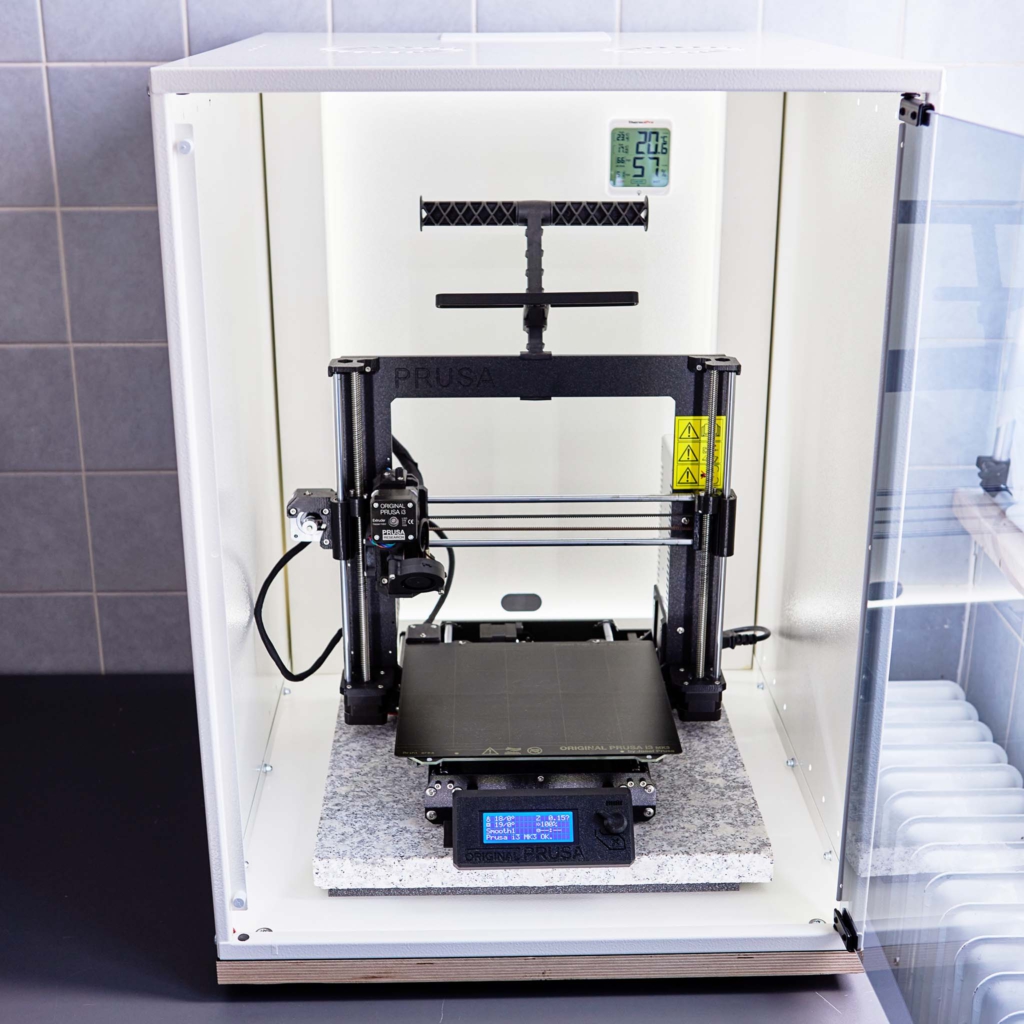
1x Thermo & Hygrometer with magnetic base (ThermoPro TP53)
2x big wire channel / cable conduit 60mm x length = 700mm
2x small wire channel / cable conduit 17mm x length = 520mm
2x plastic flat rectangular bar / stripe 35,5 x 3mm x length = 530mm
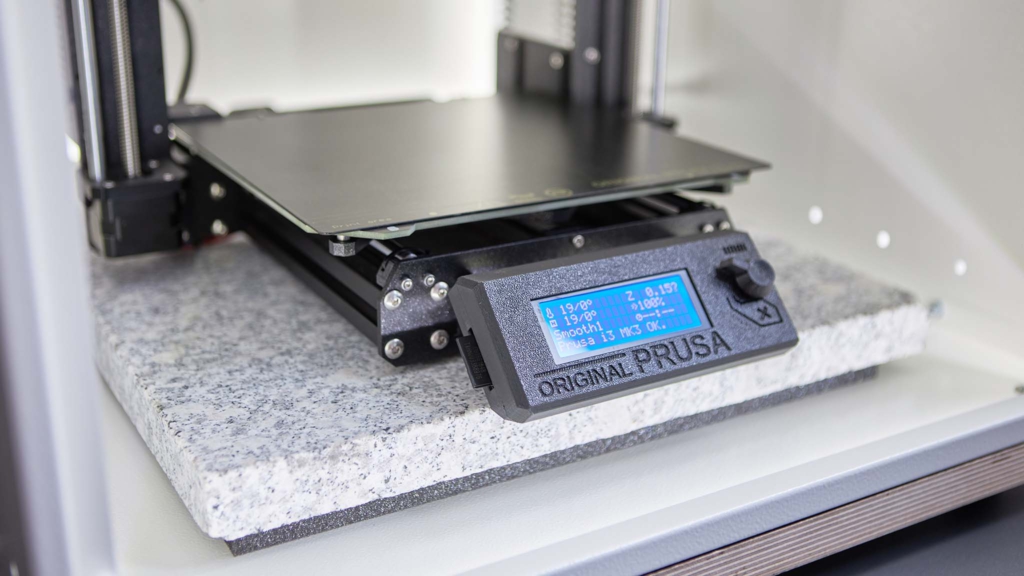
1x granite slab 400x400x30mm
1x 400x400x10mm foam from packaging put underneath the granite slab
I’ve already printed some bigger parts and the temperature inside the cabinet is constant 28°C when the Prusa is working. No modification needed – the whole 3D printer including power source is inside the server cabinet. So I don’t need to add a fan but it’s winter here. Will see how it behaves in summer but if it does not exceed 40°C I won’t worry at all.
Update: I printed Nylon PA-CF with it in summer and the temperature maxed out at 44°C. Hot air can easily escape through the upper fan slots so I don’t need to worry about ventilation or cooling the enclosure.
[…] months back, I purchased a Prusa MK3S 3D Printer (kit) and I built an enclosure for it based on this guide. Its setup is done inside a servers rack, and I am very happy with the results so far, you can find […]
[…] quite some research I ended up following this guide which I found very practical and quite affordable to follow for my enclosure build, but I am going […]
[…] Perfect 3D Printer Enclosure for Prusa i3 MK3 […]