

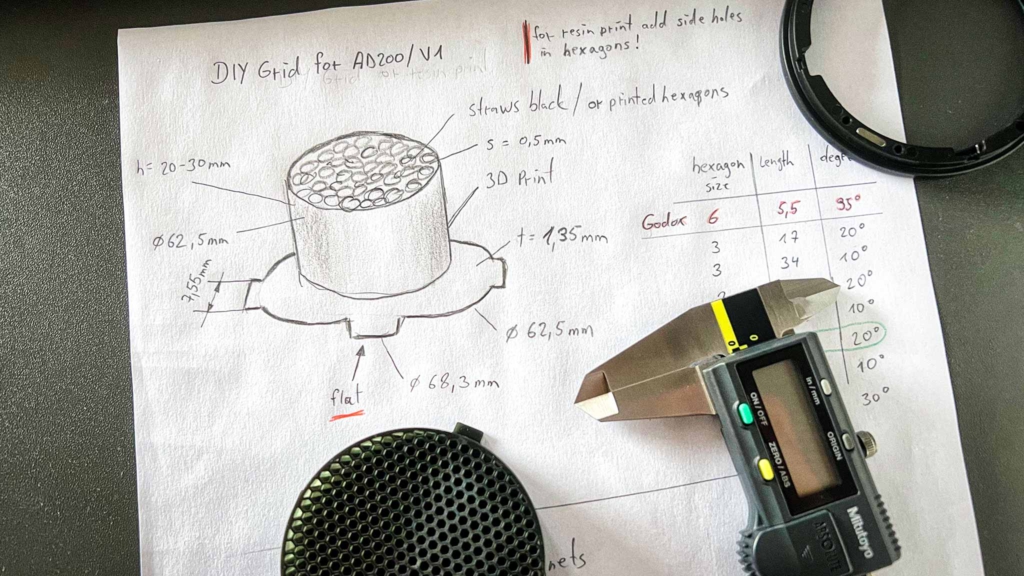
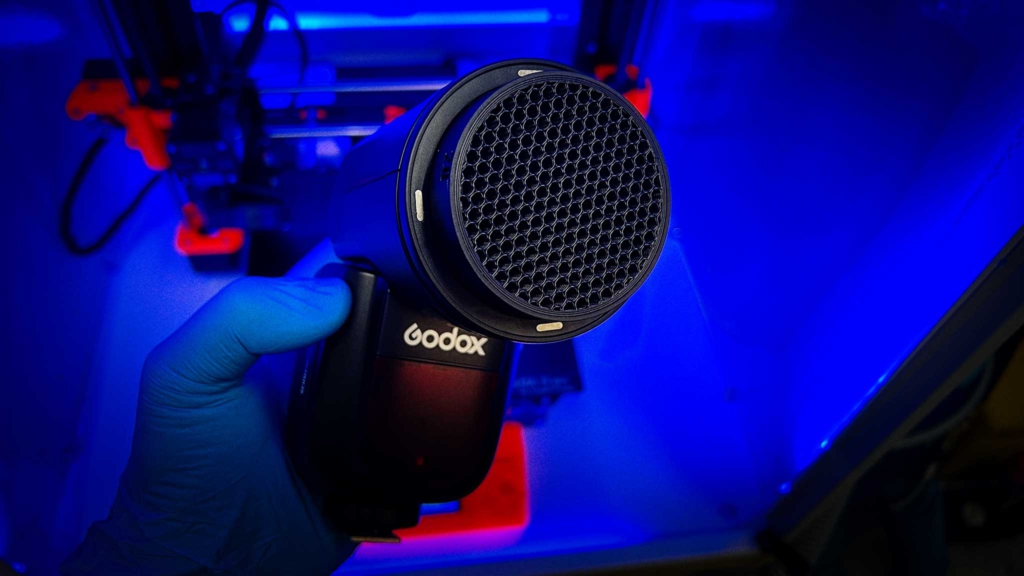
The included honeycomb grid in the Godox AK-R1 Kit was too wide and not working at all for creating a nice spot light. So I made my own 🙂
I designed the DIY grid to be fixed inside the empty ring from the AK-R1 Kit that is used for CTO/CTB gels. The ring has 3 gaps in different depth positions so you can still use a color gel with the DIY grid together.
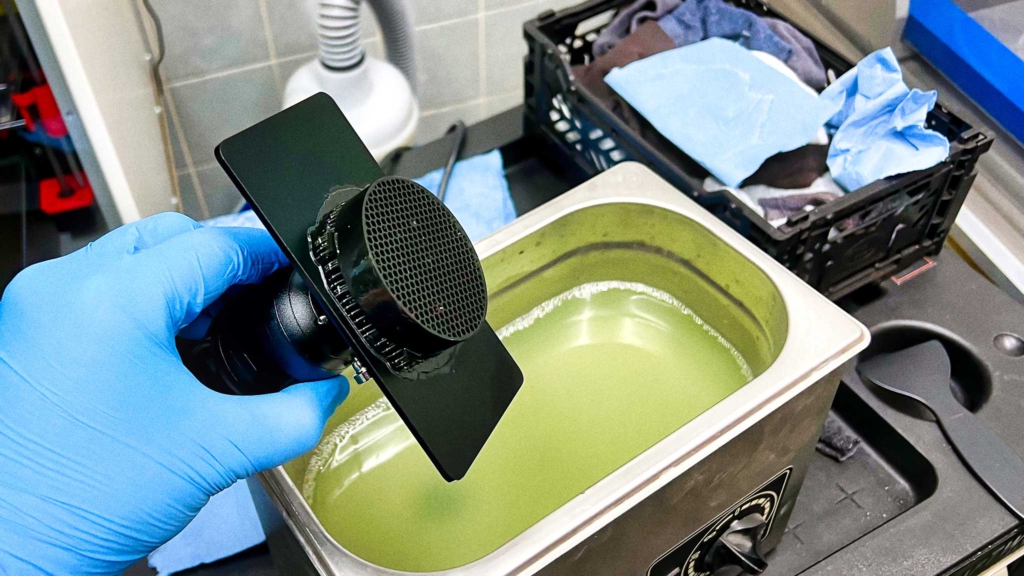
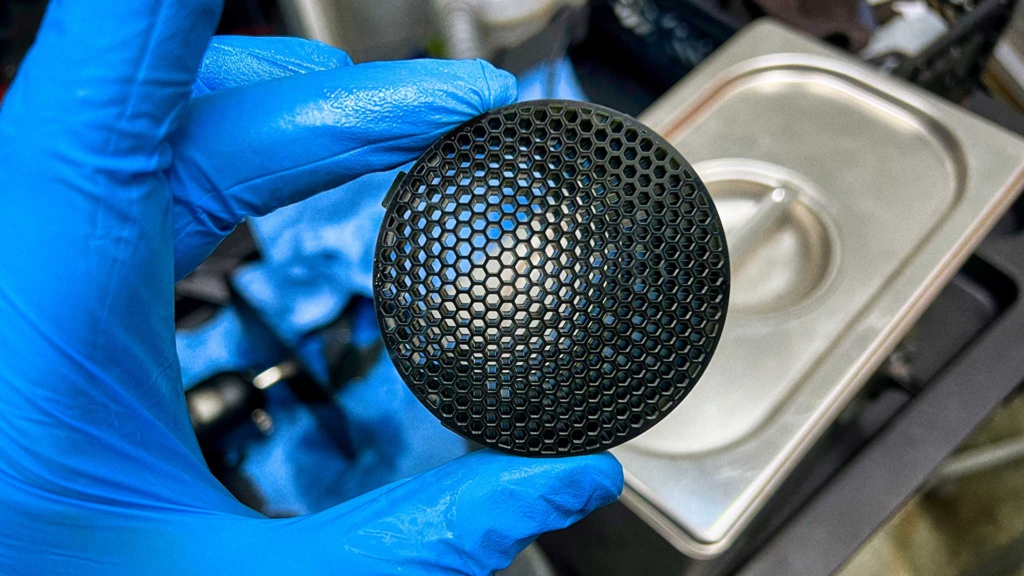
The first prototypes I made on a resin printer and they work great and have perfect details but the part smells really bad and resin printing is still a messy job.
I decided to recreate the DIY grid on my Prusa MK3 but I soon realized that the modeled honeycomb grid takes a couple of hours to print. That is way too much time for such a small part. But I found a very interesting post on the Prusaprinters where you can actually use the infill for designing items.
It’s pretty easy and it prints much faster. Create a modifier in this case a cylinder and position it in the center of your object. I made it a little bit smaller in diameter then my actual part. Then you add settings like Infill & Layers and Perimeters to that modifier.
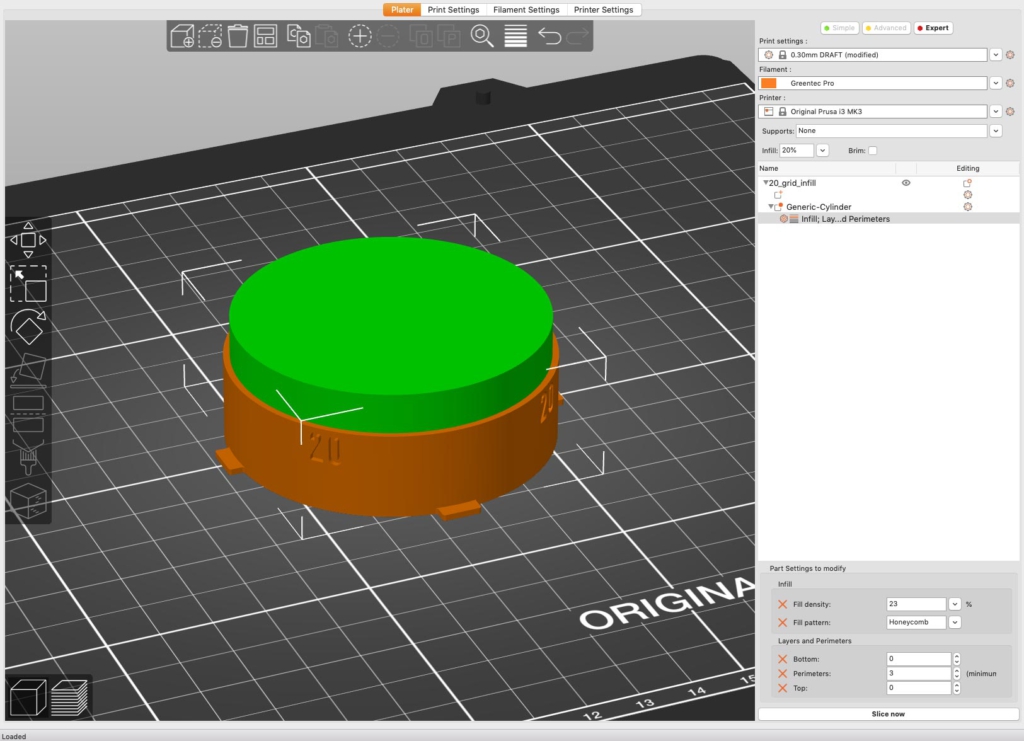
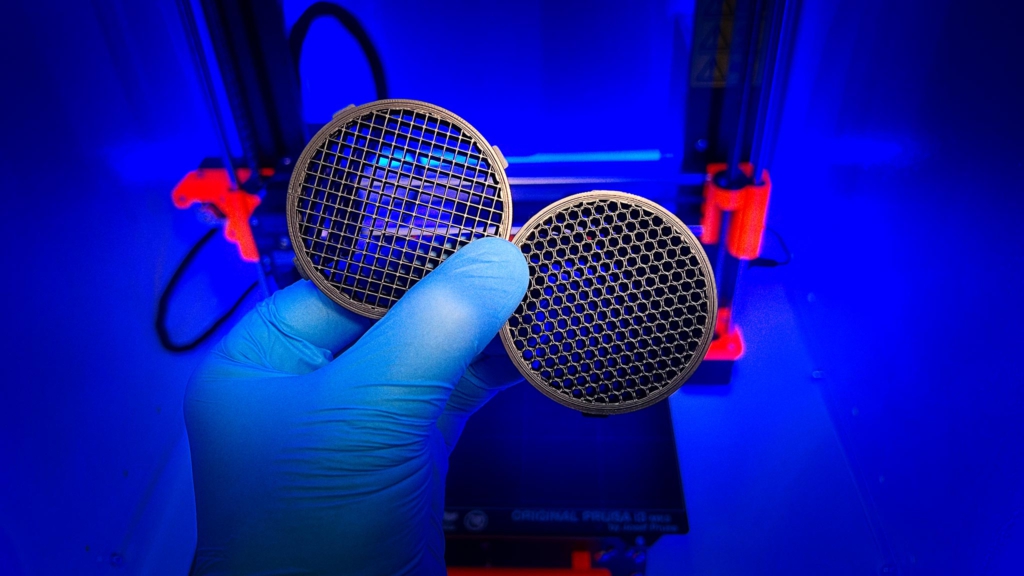
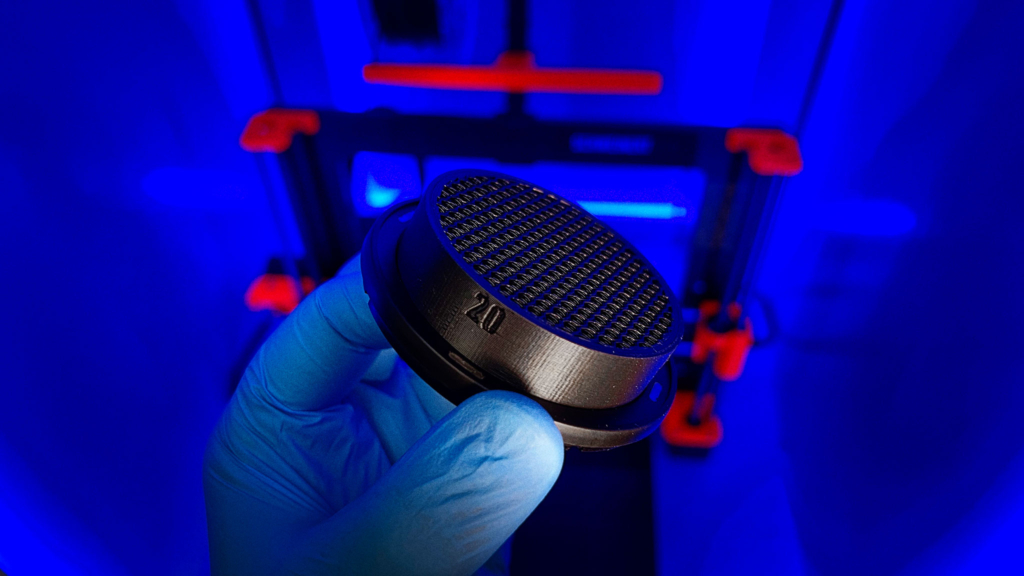
Fill density was 23% and Fill pattern “Honeycomb” – you can also use “Grid” as infill but I didn’t like the light pattern that was created by the flash, its of course square and I wanted a round shape. Though the “Grid” infill prints much faster. If you want a 30° grid with the “Grid” infill you have to use 25% infill.
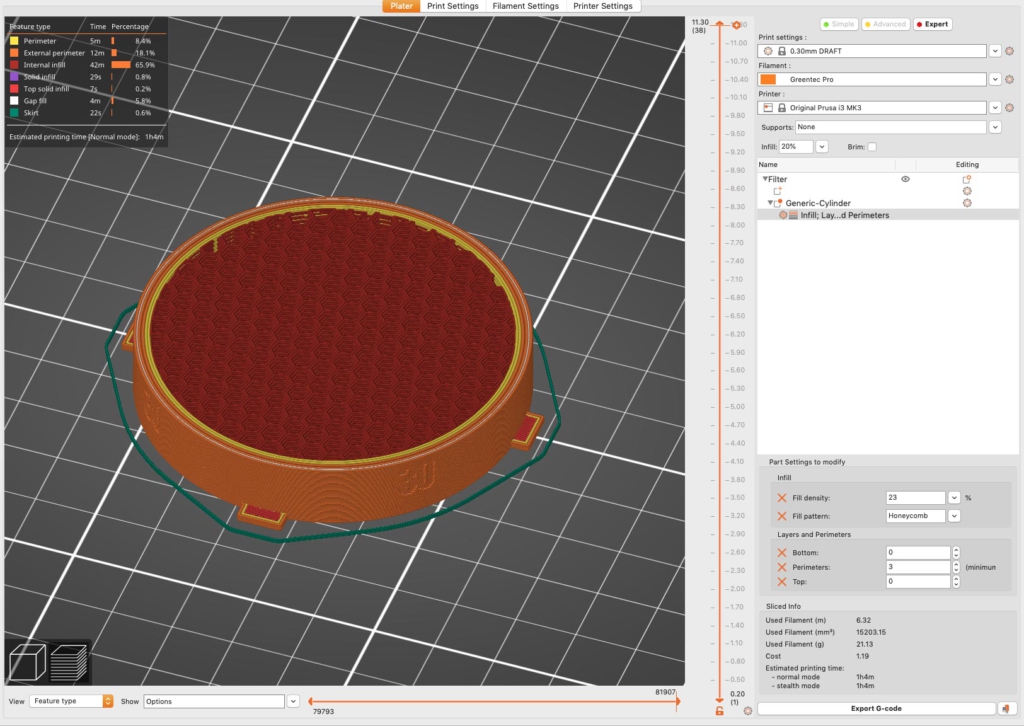
For Layers and Perimeters I set the Bottom and Top layer to 0 and Perimeters to 3 so they have better contact with the outer shell. When you click on slice the bottom and top layer is removed and you can see the infill pattern. This infill pattern prints much quicker than a modeled grid.
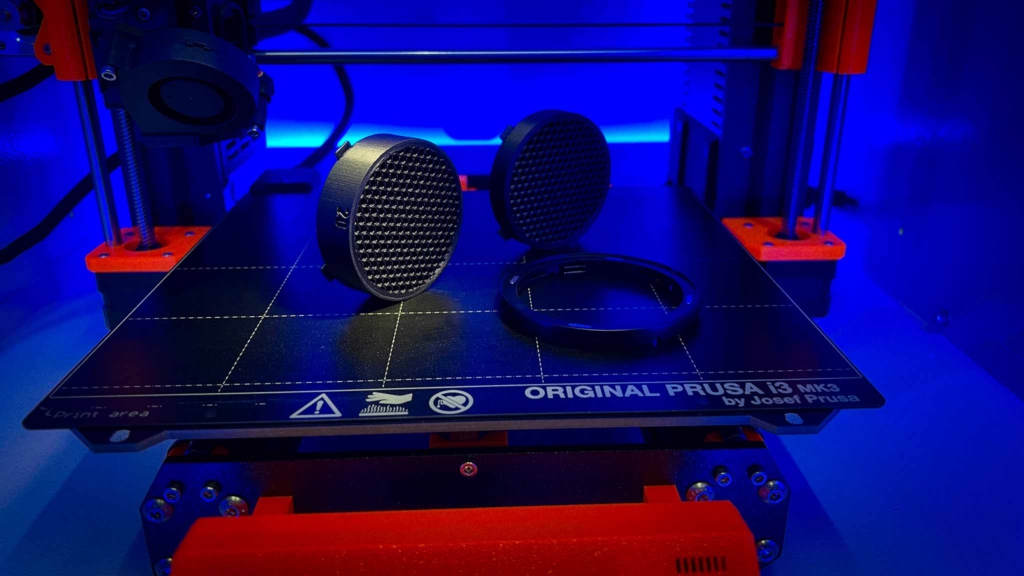
In the 3MF files for FDM printing the modifier and infill is already set-up just open the file in Prusa Slicer change your printer, filament, slice and print. I used the 0.30mm DRAFT mode with ironing activated. My filament was Extrudr Greentec Pro Black because it has a matte finish but you can use PLA or PETG of course.
You can download the files here:
https://www.prusaprinters.org/prints/128513-diy-honeycomb-grid-godox-ad200-v1
Sources:
https://blog.prusaprinters.org/model-with-prusaslicer-modifier-meshes-tutorial_30438/