
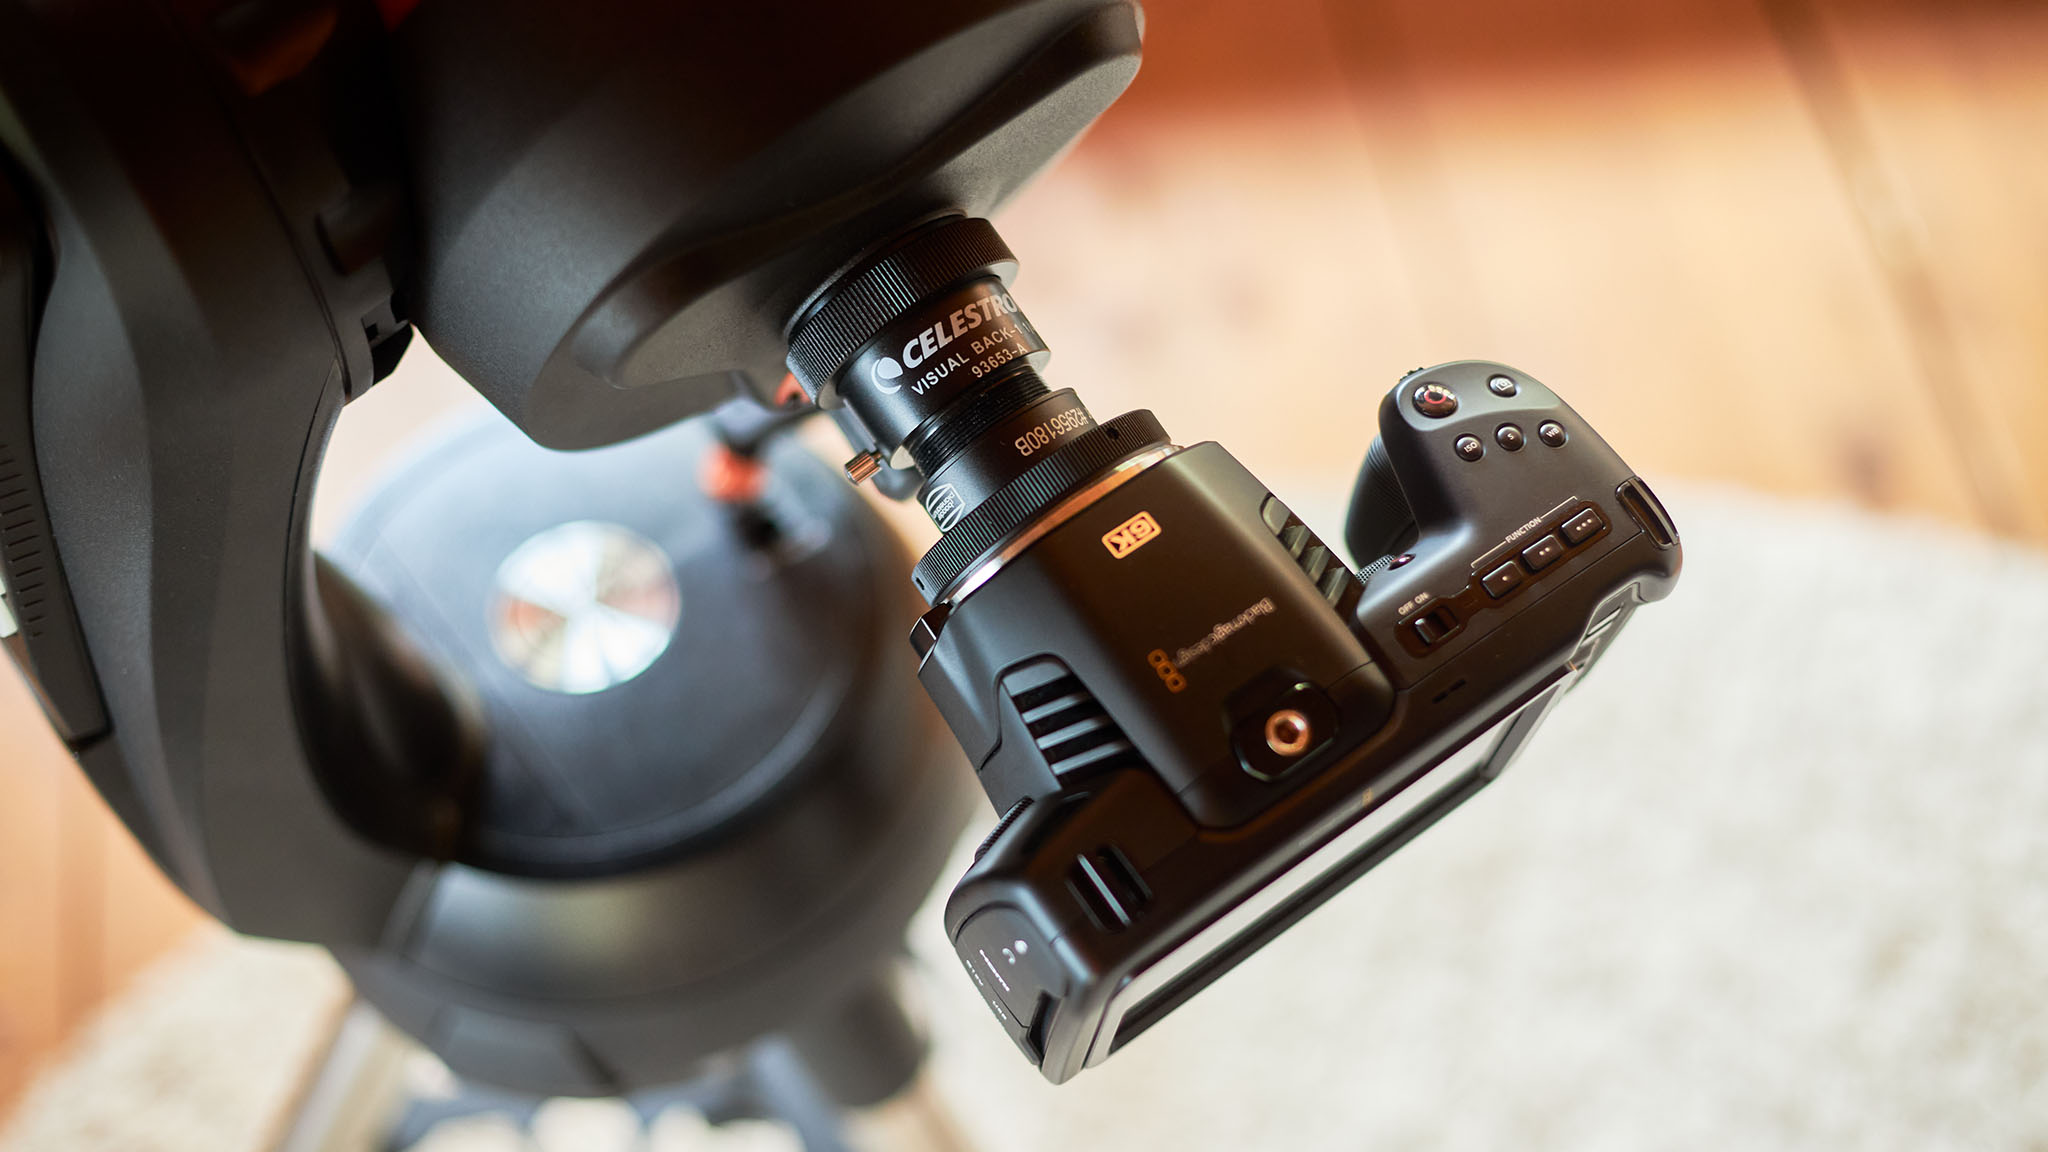
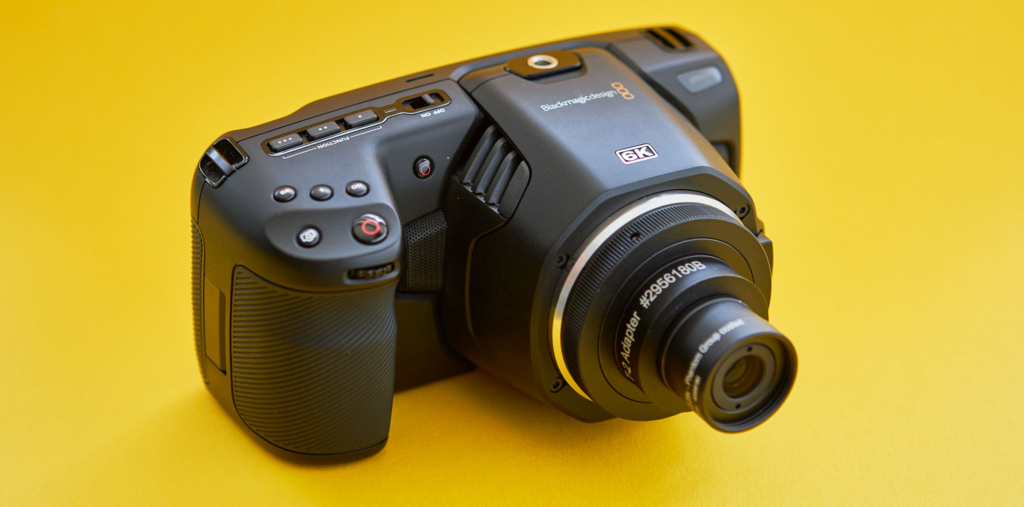
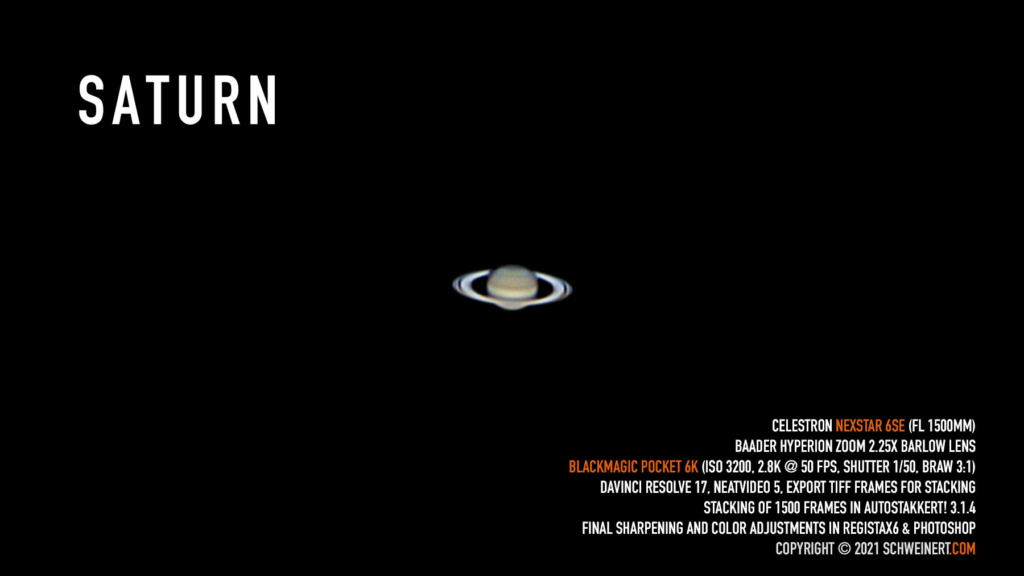
The Blackmagic Design Pocket 6K camera is so versatile. Lately I used it to take high resolution clips of the moon for stock agencies. I wanted to push it a little bit further to see if I can capture something like Jupiter and Saturn. Spoiler alert, yes it works but you need some preparation and some understanding of image stacking for such distant objects.
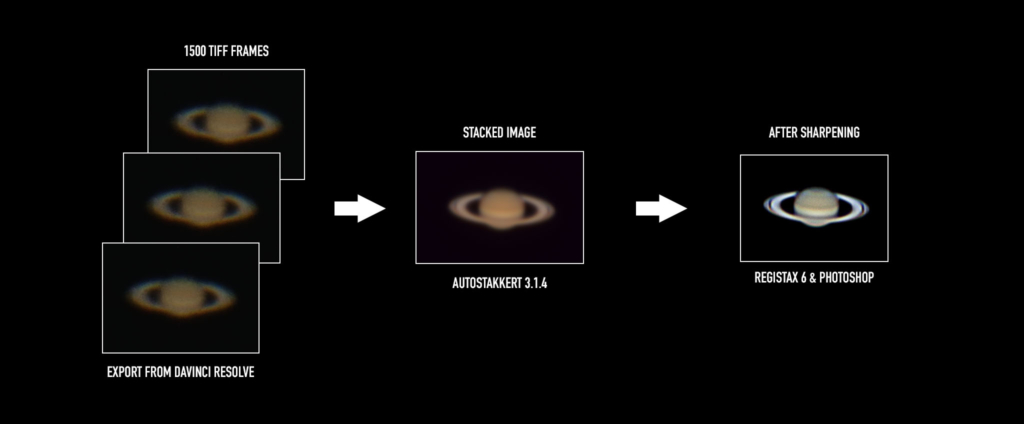
Basically you record short video clips of your planets and convert the video clip to TIFF frames. These can be read by an image stacking software like Autostakkert. The software will throw away the blurry images caused by turbulent airflow in the atmosphere and select only the best to get a crisp image for further processing. Afterwards it’s just sharpening and color adjustments.
It works with any camera that can crop into the sensor. I tried it with the Canon EOS R in 4K crop mode and it works! Downside is, it records only 8 Bit H.264 MP4 files. The BRAW files from the Pocket 6K are much better.

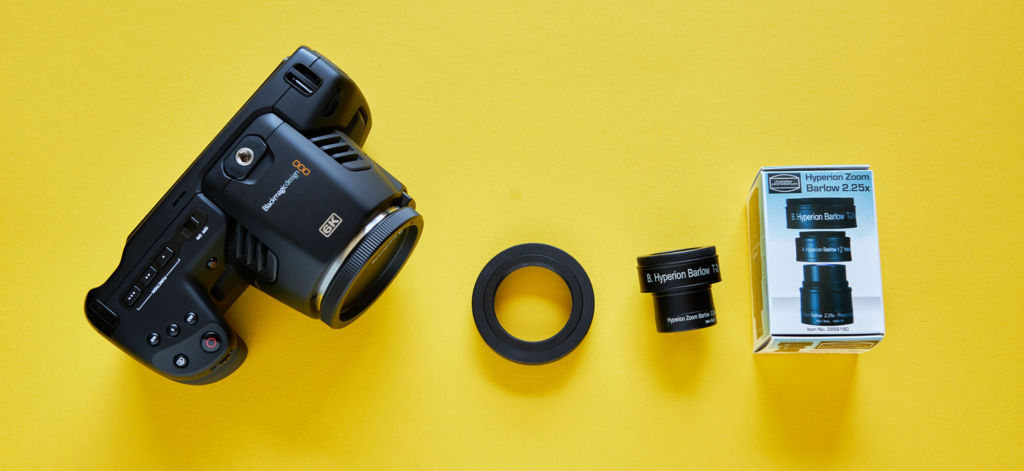
First you need these parts to get started.
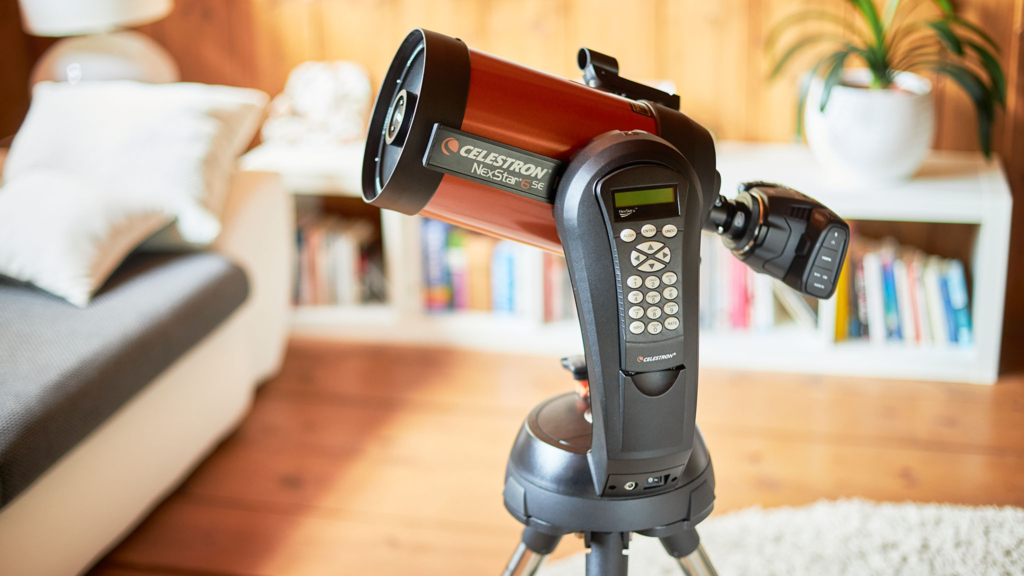
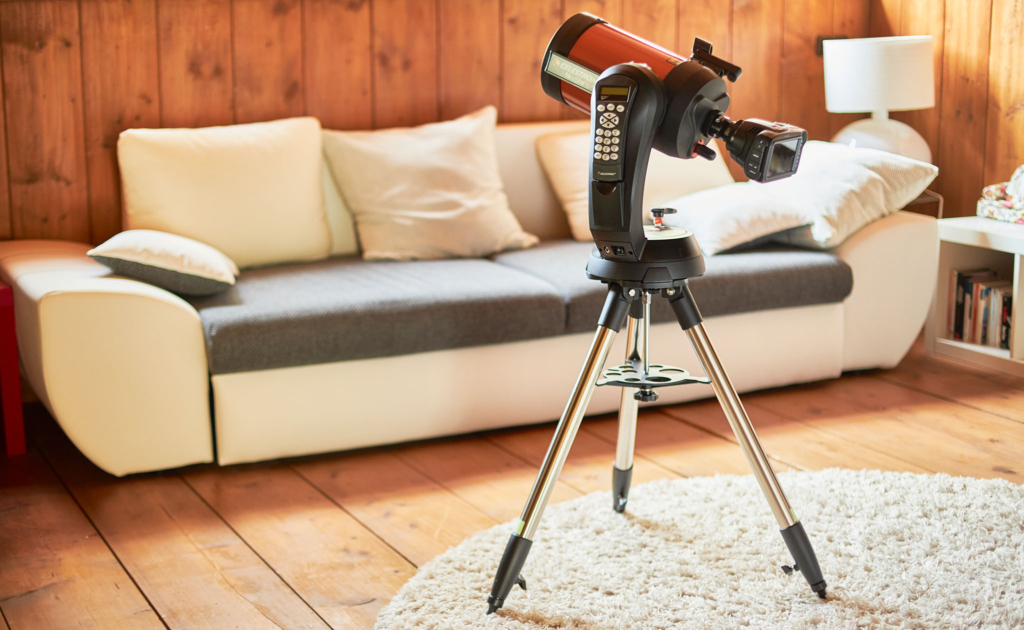
Telescope with sturdy mount
2x or 3x good barlow lens (magnifies your image)
T2 Ring adapter for your camera
Camera that shoots video clips (with crop-in mode)
Bahtinov mask for perfect focusing ( I’ve 3d printed one)
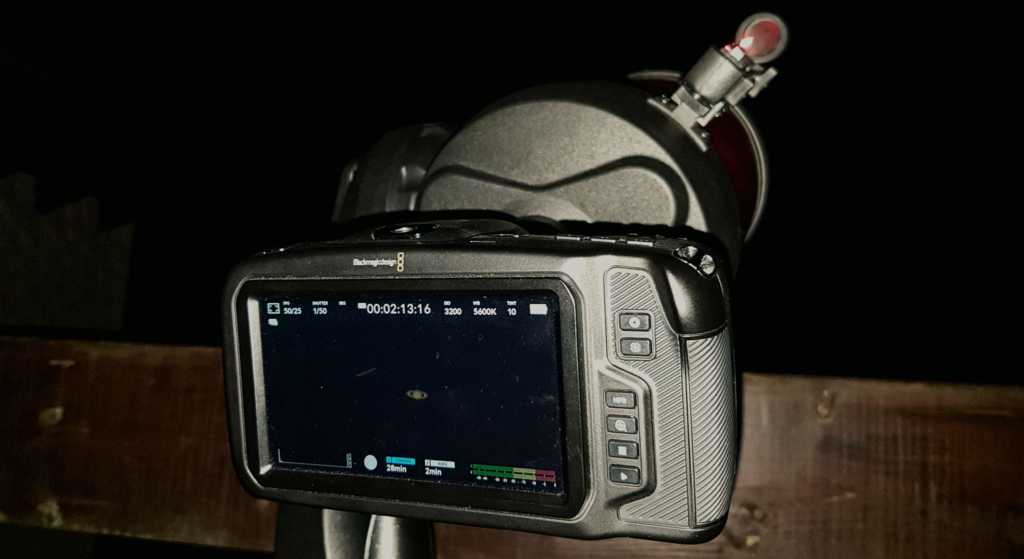
Mount your camera to your telescope and adjust the settings for capturing the clips. Trust me do it calmly at daylight. When capturing at night you should be prepared because you have to be in a dark environment. Avoid rushing or you will start to forget settings or worse step on your tripod and re-calibrate the telescope. Also when capturing at this high magnifications try to stay still, every movement or slightest breeze will be visible in the clips turning them into a blurry mess.

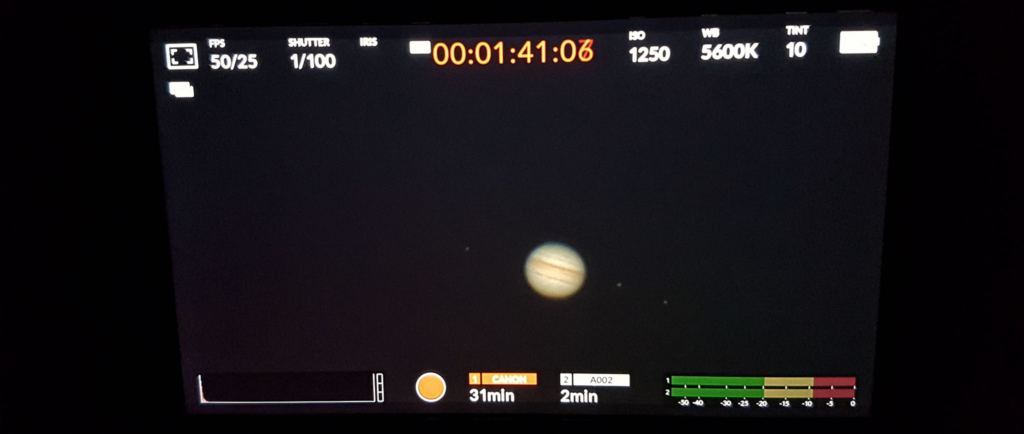
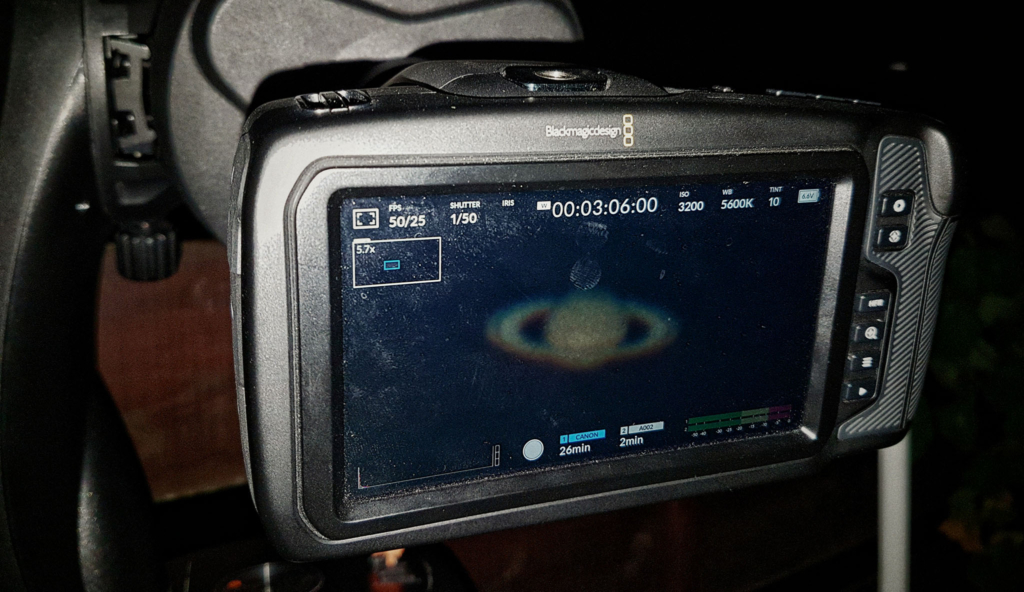
For the BMD Pocket 6K I start with these settings because they’re almost noise free. BRAW 3:1, Resolution 2.8K @ 50fps, Shutter speed 1/50 or better 1/100 when you have a better telescope (mine is only a f/10). ISO 1250 is really good but I upped it to 3200 sometimes and it works great too.
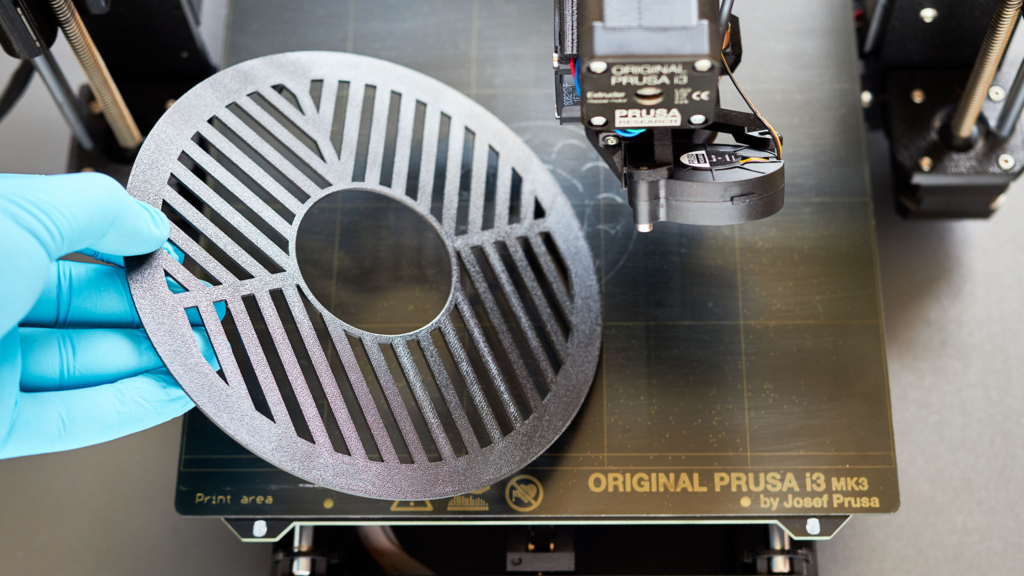
For perfect focus I 3d printed myself a Bahtinov mask for my telescope. There are many of them on thingiverse for all kinds of telescopes. This mask works as follows. You point the telescope on a bright star and put the mask in front of your telescope. Use Live-View on your camera to zoom in. Now you will see some sort of diffraction pattern. By adjusting your focus on the telescope the pattern in the middle will move. Adjust it until the pattern is symmetric. Now you have perfect focus and can point your telescope on a planet.
I calibrated my Go-To mount with a 3 star alignment and let it track the planet I want to capture. If you don’t have a Go-To mount you can always put the planet into a corner of your image and let it drift through the whole capture area. Just trim the start and end of the clip so the planet is fully visible and not cut off. AutoStakkert will do the rest.
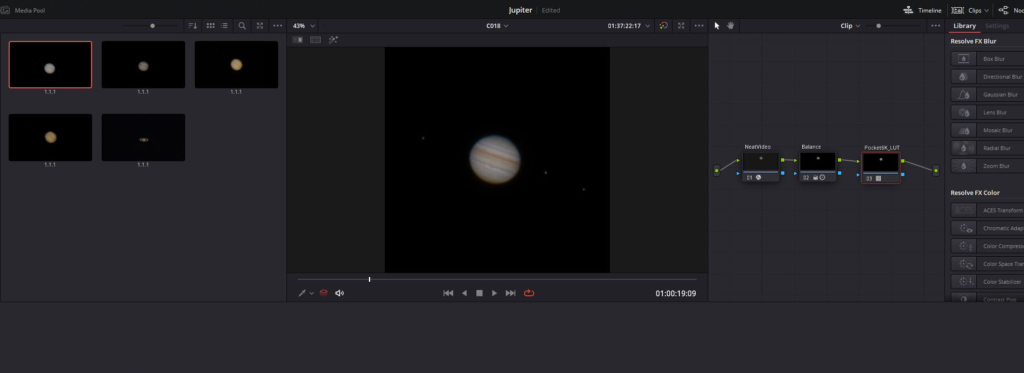
I import the BRAW clips into DaVinci Resolve 17 and do some minor adjustments like denoise with NeatVideo, brighten up the image, adding some contrast and changing the white balance. On the last node I also add the BMD LUT for the Pocket 6K for Extended Video Gen5. From the 2.8K resolution I crop it to 1080x1080px to save on processing time in AutoStakkert. In the deliver tab I export the clip to 16 Bit TIFF files that can be read by AutoStakkert.
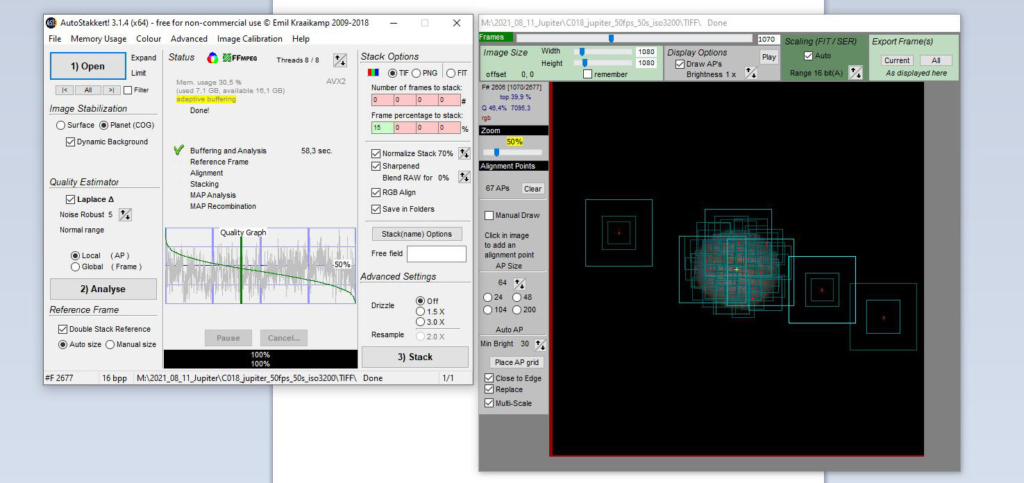
Inside of AutoStakkert you click on Analyse and check the green graph to see how many frames are good. In this case only 25% of them are over the 50% quality line. So I choose that I only want 15% of them to be processed. Hit the Place AP grid and verify you are under 100 APs and the planet is tracked correctly. You can apply all the rest of the settings from the image above. Now hit Stack and wait until it’s done. I don’t go into details because there are many tutorials on Youtube on how to use this software.
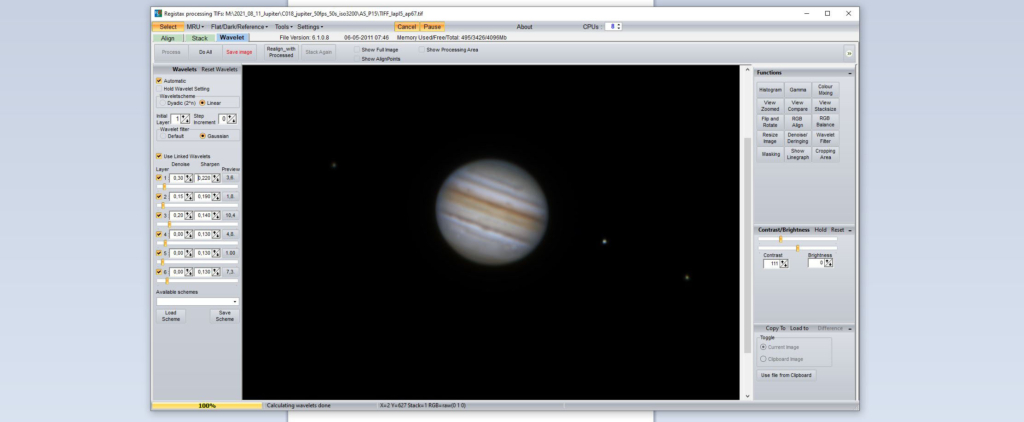
In Registax I used the Linked Wavelets to sharpen the image. I just changed the settings from top to bottom and checked which one affects the image. I’m really new to this and didn’t watched any tutorials so it was just trial and error. After that I also use RGB Balance, RGB Align, and Gamma. Click on “Do All” and then on Save image. Now you can further enhance the image in Photoshop or Affinity Photo if you need to.
Sources / interesting material:
https://www.youtube.com/watch?v=ESYGFK2KyPw
https://imgur.com/a/ErrVN
https://forum.blackmagicdesign.com/viewtopic.php?f=2&t=82275